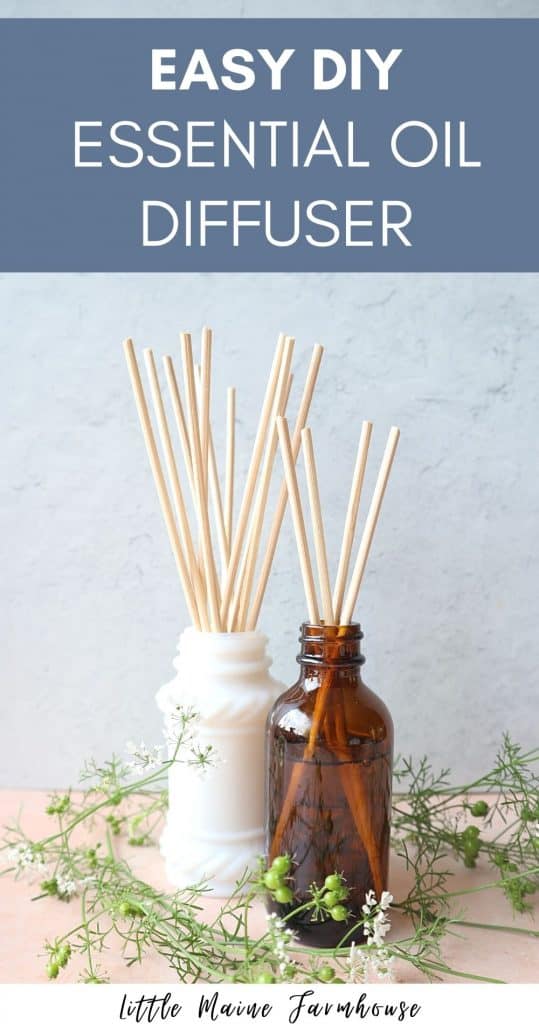
A DIY Essential oil diffuser is an easy and affordable way to make your home smell wonderful – and handmade diffusers make great gifts!
Getting started with essential oils can feel pricey, especially once you fall in love with them and just want to put a diffuser in every single room of your home!
Thankfully, there are some great inexpensive diy hacks for using essential oils to make your whole home smell amazing, without resorting to toxic alternatives like scented candles, soaps, or outlet air fresheners.
These little handmade oil diffusers are one of my favorite ways to harness the power of essential oils to keep a small space smelling lovely. They’re quick, easy, and cost so little, you can make a big batch of them and use them for handmade Christmas gifts!
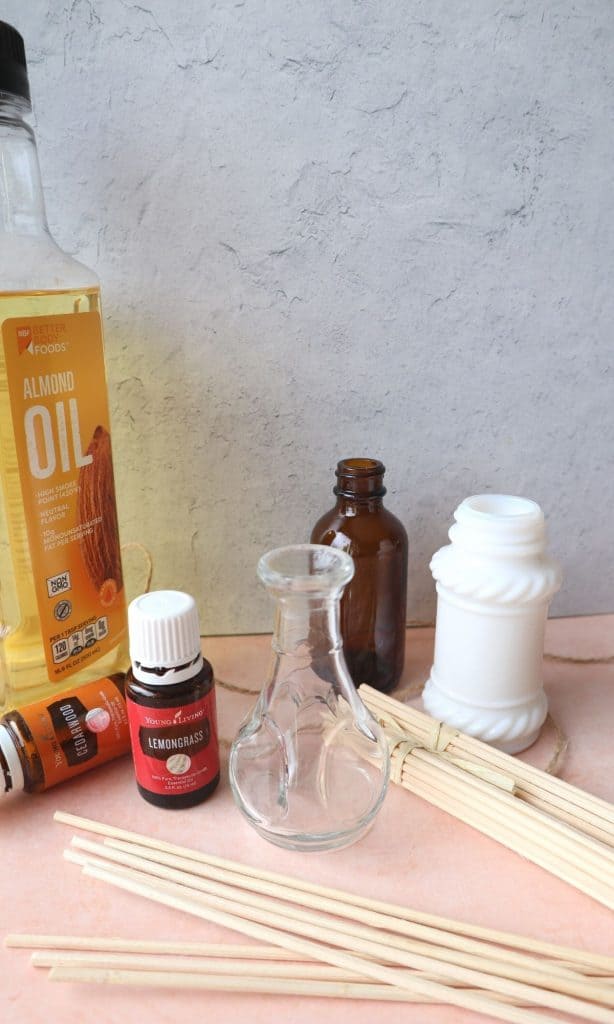
Materials you’ll need for making a DIY Diffuser:
- Small jars or bottles (I aim for sizes that range from about 3 to 6 ounces)
- High quality essential oils (Use a favorite single oil, like Lavender, or try any favorite “diffuser recipe” combination)
- A carrier oil (sweet almond, fractionated coconut, or sunflower oil all work well.)
- Diffuser reeds (available inexpensively on Amazon, or from most candle suppliers)
- Anything you’d like for decorating your diffuser. (raffia, twine, ribbon, dried flowers…there are so many ways to make these cute!)
Where to find jars for handmade diffusers
Chances are, you’ve already got something in your home that would make a wonderful diffuser. I enjoy diffusers that are small, holding about 3-6 ounces. Small bud vases, glass apothecary bottles, and spice jars are all items that I’ve used for making these handmade diffusers.
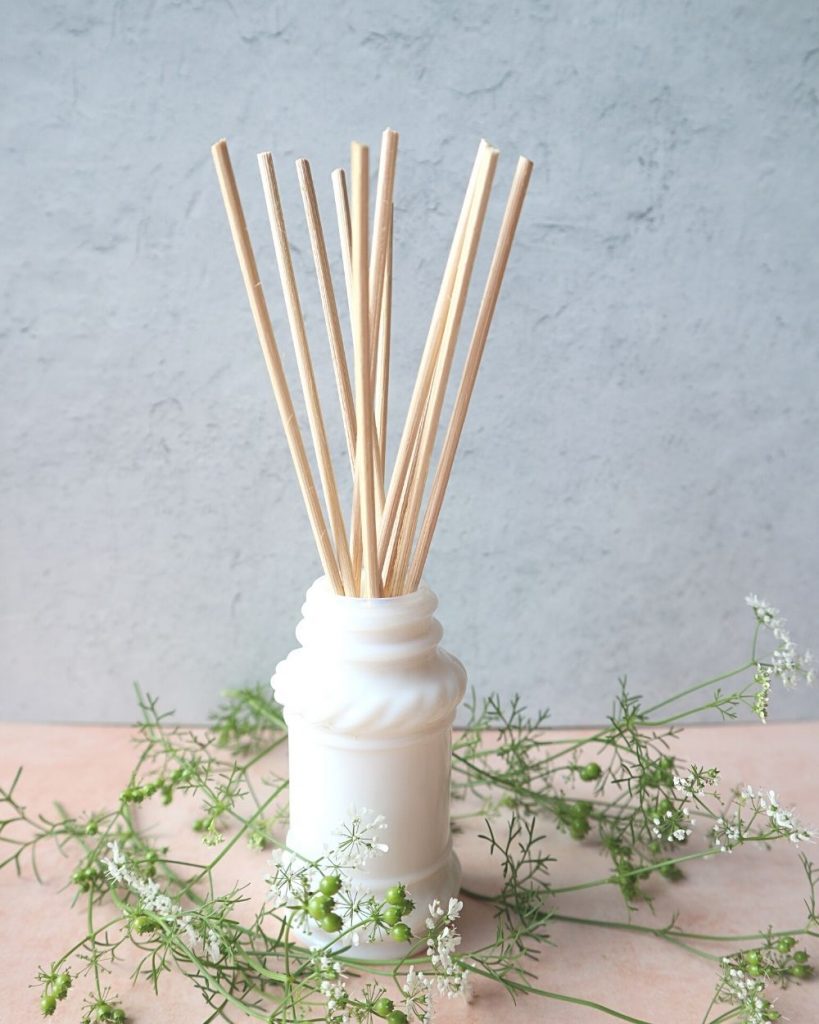
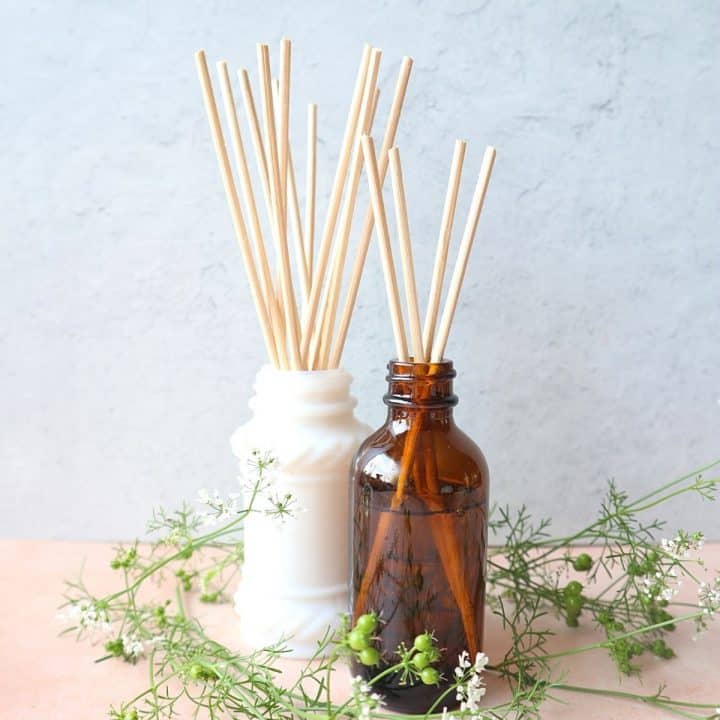
If you don’t have something already, thrift stores, Etsy, and eBay are great places to find small jars with lots of character, and often you can find them in lots. I picked up this white milk-glass spice jar below at a thrift store yard sale. It was in a thickly dust-encrusted box with about 20 more jars just like it…and the whole boxful only cost $1!
Choosing essential oils for your homemade diffuser
Since the scent of this diffuser will last for a couple of months, and you won’t be changing it every day, like with an electronic diffuser, you’ll want to stick with a scent you know you’ll enjoy.
Single essential oils that work well for DIY diffusers
If you’d like to stick with just one single oil, here are some classic oils that freshen up a room, and can really hold their own without being combined with another oil:
- Lavender
- Lemon
- Lemongrass
- Orange
- Eucalyptus
- Pine, Fir, or Balsam
Essential oil blends that work well for handmade diffusers
If you’d like to use a blend of oils, there are endless combinations you can use, when it comes to creating an essential oil blend for your home!
The amount of essential oil you’ll need to use in a DIY diffuser will vary depending on the size of your diffuser vessel, and the quality of your oils. Using high-quality oils in a 3-4 ounce diffuser, I use about 20 drops of essential oil. Here are some of my favorite diffuser recipes for handmade diffusers based on that amount (adjust the number of drops up or down as needed).
- 14 drops Lemongrass, 6 drops Cedarwood
- 12 drops Peppermint, 8 drops Lemon
- 7 drops Orange, 7 drops Lemon, 6 drops Grapefruit
- 13 drops Fir, 7 drops Frankincense
- 10 drops Orange, 6 drops Clove, 4 drops Rosemary
Those last two essential oil combinations are especially wonderful for Christmas time. I tend to use that Fir and Frankincense combination throughout my house, from November until January!
Making your DIY Essential Oil Diffuser
First, decorate your diffuser.
Trust me, it’s so much easier to fancy up a diffuser before it has oil in it, than after! The sky is the limit when it come to decorating. I often opt for natural materials, like hemp twine, raffia, dried flowers, and even tiny twigs, when it comes to decorating these. Ribbon, lace, washi tape, and faux flowers and greenery can work well too!
Then put in your essential oils.
Using one of the recipes above, or one of your own, add your essential oils right into the diffuser. Again, I use about 20 drops of high-quality, pure essential oils for each 3-4 ounce diffuser. If your vessel is a little larger, you may want to use a bit more.
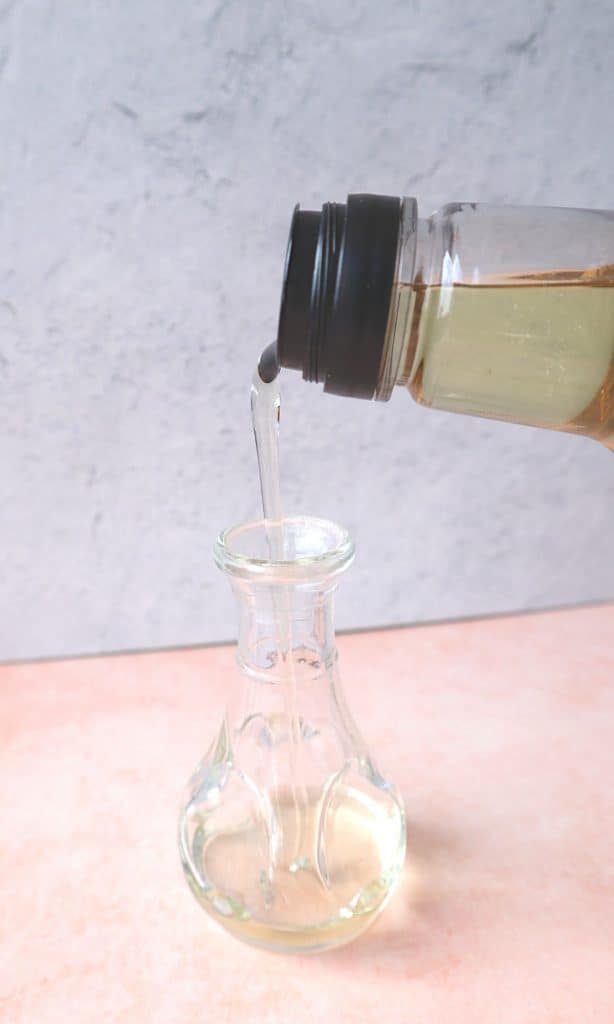
Now add a carrier oil.
Carefully pour your chosen carrier oil into the diffuser, stopping when the liquid is about 1″ below the top of the vessel. You can always add a bit more later, but you want to ensure that there will be enough room to add your rattan diffuser reeds.
Carefully mix the essential oil and the carrier oil
Use one of the diffuser reeds to gently stir the oils together, right in the diffuser, until they’re well combined. While you can mix them ahead of time, I prefer mixing them right in the diffuser, so that no oil gets wasted. If you can’t see, because the diffuser is opaque, just stir carefully for a couple of minutes, and they should be well combined.
Place the diffuser reeds into the diffuser
One at a time, place your rattan reeds into the diffuser. In general, the more reeds you use, the more the essential oils will be wicked up, and released into the air – increasing the amount of scent the diffuser gives off. However, if reeds are too crowded in the diffuser, they won’t draw up the oil as well, and end up looking awkward rather than graceful. I like to add reeds one at a time, using as many as possible, while still allowing them to be loosely arranged in the diffuser.
Using a handmade essential oil diffuser
To use your diffuser, just place it somewhere that you’d like to enjoy the gentle, continual scent of your essential oil. Your diffuser will retain its quality best, if you place it in a location that’s out of direct sunlight.
To speed up the transmission of scent through the reeds, after making your diffuser, just lift each reed, then replace it, oily-side up. If you feel your diffuser starts to smell a bit more faint after a week or two, just flip the reeds like this, and it should give your diffuser a new lease on life.
I find that handmade diffusers generally give off a good scent for about two months, and then start to fade enough that you may want to empty the old oils, and replace them with fresh essential oils and carrier oil.
DIY Essential Oil Diffuser
These handmade essential oil diffusers are perfect for making a small space smell heavenly, and they make a wonderful gift!
Materials
- Equipment List:
- Small, narrow-necked glass vessel (about 4-6 ounce size for this recipe)
- Glass measuring cup, with pouring spout
- 1/4 cup carrier oil (fractionated coconut, sweet almond, or sunflower work well)
- 20-25 drops high-quality essential oils
- 5-6 rattan diffuser reeds (use more if you make your diffuser larger)
- Any decorative materials for "dressing up" your diffuser
Instructions
- Select a small, narrow-necked, glass container for your project.
- Decorate your diffuser vessel. It's much easier to add any trimmings before the oils are added!
- Add 20-25 drops of your essential oils to the diffuser - don't be afraid to make your own blends, or try one of these combinations:
Lemon and Peppermint
Cinnamon, Evergreen, and Orange
Balsam Fir and Frankincense
Clove, Orange, and Rosemary - Add your carrier oil of choice to the diffuser, leaving 1" of headspace at the top of the diffuser. You can always add a bit more oil, but you want to make sure there's room left for your diffuser reeds!
- Use one of the rattan reeds to carefuly mix the oils well, right in the diffuser.
- Arrange 5-6 reeds in diffuser. I use the 7" size for small containers, but they come in different lengths. You can also trim your reeds to various lengths to get the look you like best!
That’s really all there is to making and using your own homemade essential oil diffuser! If you have any questions about essential oils, I’m always happy help – just shoot me an email, or leave a comment below!
