Update your whole staircase, just by painting your outdated stair rods. Here’s what to use, and how to go about it!

Last weekend, we finally replaced our torn, old stair runner with a bright new one. It was an easy DIY that totally transformed the whole front half of our home!
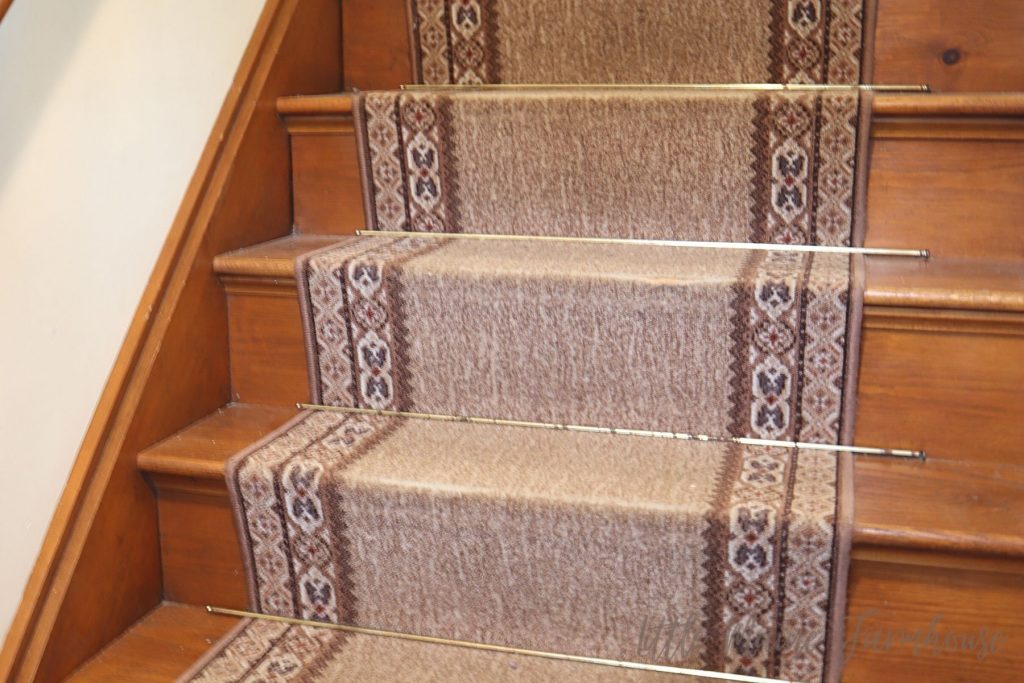
Besides replacing the old runner, I was also eager to update the stairway by refinishing the dingy gold-colored stair rods. I know they must have looked great when they were first installed 47 years ago. But they had seen their prime, and to me, they were starting to look for all the world like a bunch of dollar-store curtain rods.

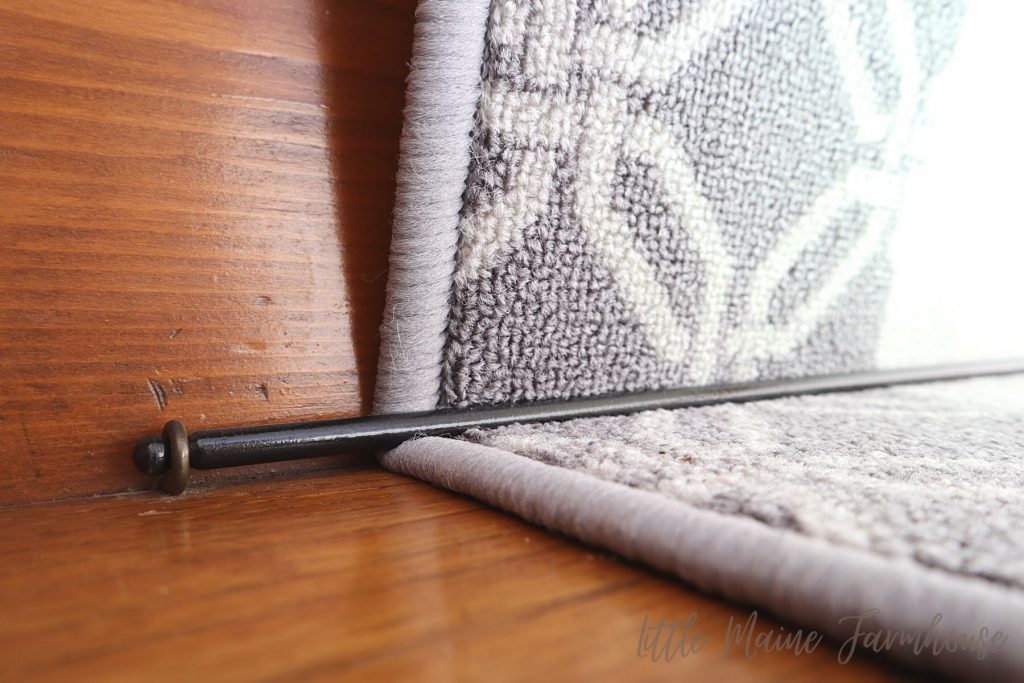
Refinishing those rods was my favorite part of the whole stairway project. Both because it was so easy, and because one little $6 can of paint made such a dramatic transformation. A little time and a little paint, and my stair rods went from “cheap and dingy”, to looking like I’d sourced them from Restoration Hardware or Pottery Barn.
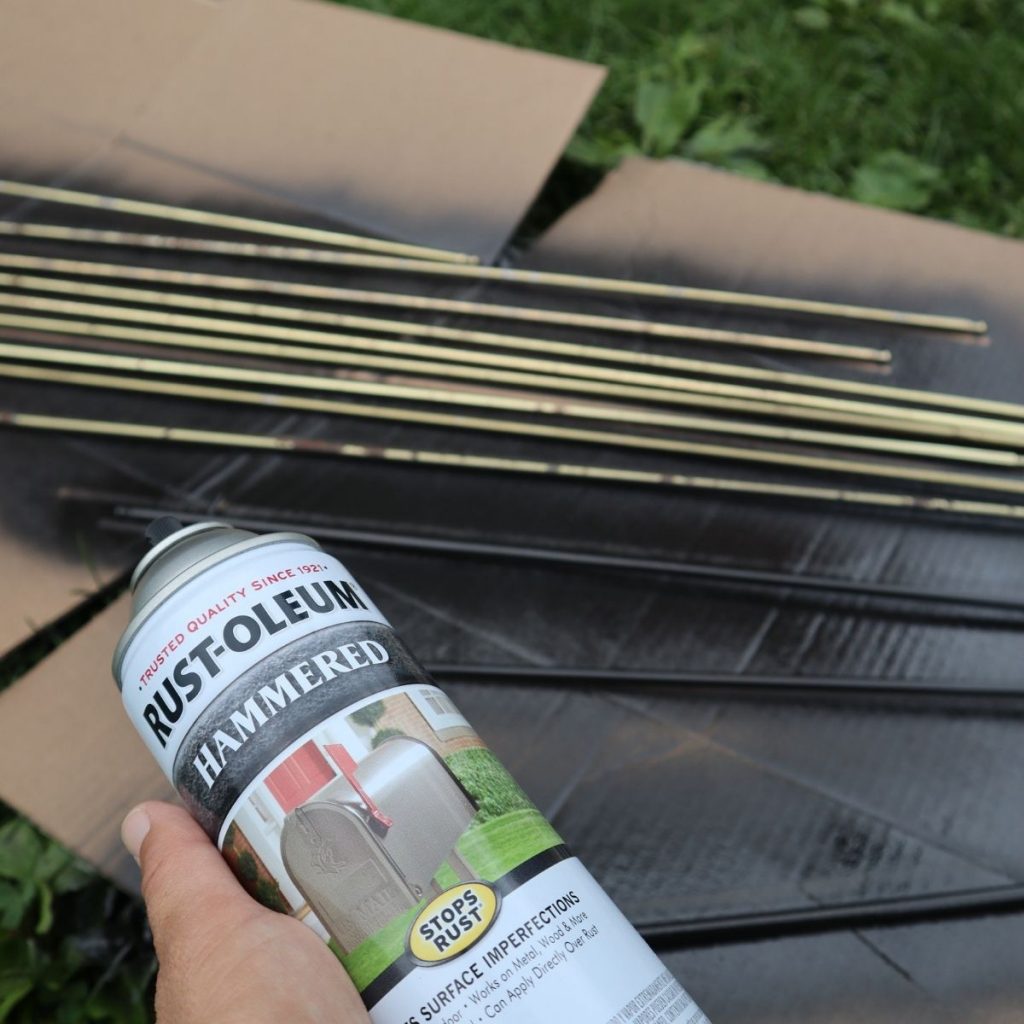
Depending on the look that you’re going for, there are probably several different spray paints that you could choose. I went with the black “Hammered” spray paint from Rustoleum, and love it. For an even more cast iron look, you could opt for the flatter, “Fine Textured Black” finish.
I had a feeling the flatter finish might hold onto dust and lint a bit more than the very smooth hammered paint I ended up choosing. As our only stairway, that carpet runner (and rods!) see a huge amount of daily use, so ease of keeping the stairway clean was a factor for me in choosing.
I can’t imagine loving the results any more than I do, so I’m really happy with the Hammered finish, and absolutely recommend it.

To paint the rods, start by carefully popping each one out of the little loops that hold them. If you give a strong nudge from one end, while giving a gentle tug to the middle of the rod, they generally pop right out.
If you’re painting the little screw-in loops that hold the rods to the stairway, carefully screw out each one, then prepare and paint them in the same way as the rods. My loops had aged so darkly that I felt they would complement the newly-painted rods, just as they were, and I didn’t end up painting mine.
After all of the rods are free, go ahead and wash them well. If there are rough places, it’s worth taking time to go over them with sandpaper to smooth them down to a nice flat surface.
If there’s rust, sand it smooth. If you spray paint over rusty rods, that haven’t been smoothed down, they’re still going to look like rusty rods that got painted, rather than the smooth, expensive hardware look you’re going for.
Now, in a well ventilated area, line up all the rods on a large piece of scrap cardboard, or a drop cloth. Leave ample space between them so they aren’t touching, and you have room to paint from all angles.
Following the directions on the can, shake thoroughly for one minute, and then start painting. I found it works best to spray in short bursts, going over each area at least twice with a thin coat. Multiple thin coats are less likely to drip than one heavily-applied, thick coat.
I recommend letting the rods sit to dry for at least half an hour, then go back and put one more coat of paint over the areas that you’ve just painted.
Then let the rods sit, undisturbed, until they’re fully dry – at least an hour, in my experience.
Once they’re fully dry, you can carefully roll each rod so that the painted side is down, and repeat the painting process. Again, I would give one full coat to the second side of the rods, then wait half an hour and put on a second coat.
Let the rods dry, until they are very thoroughly dry to the touch. There should not be even a slight possibility that they’re still tacky. You don’t want to rush the drying process and end up with a smudge on your carpet runner, from a drip of paint that was thicker and took longer to dry than the rest of the rods. I let mine sit, undisturbed, for about two hours before installing them.

To re-install your newly painted rods, first replace the screw-in loops if you’ve taken those out. Gently slide the end of the rod into the matching loop. If the loop isn’t a tight fit, you may find that you can slide an inch or two of the rod through the loop, giving you leeway to line the other end up with the other loop, and then slide it in.
What I found worked best for me, was to slide in one end, then put my hand under the center of the rod, causing it to arc a bit. That gave me enough leeway to bring the other end of the rod to the inside of the second loop, and then slide it through as I removed my hand – allowing the rod to fully straighten.
That’s really all there is to re-finishing a set of old stair rods. The whole project is so easy, and really the only time-consuming part about it, is waiting for the paint to dry. To me, this was one of the most fun and gratifying restoration projects I’ve taken on so far, in our little farmhouse. And at just $6.39 for that can of Rustoleum, it was definitely one of the cheapest!
Have any questions about repainting stairway hardware, that I haven’t answered? Ask away in the comments below!
