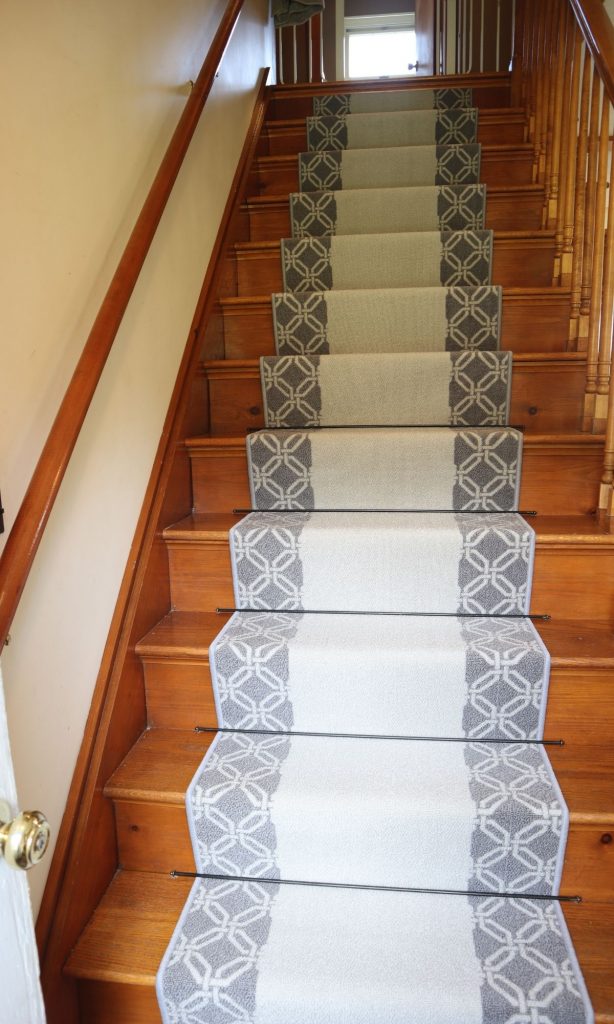
Replacing an old stair runner can provide a quick and easy update to a stairway – even on a small budget! Learn how to take off your old runner, and smoothly install a new one in this step-by-step guide.
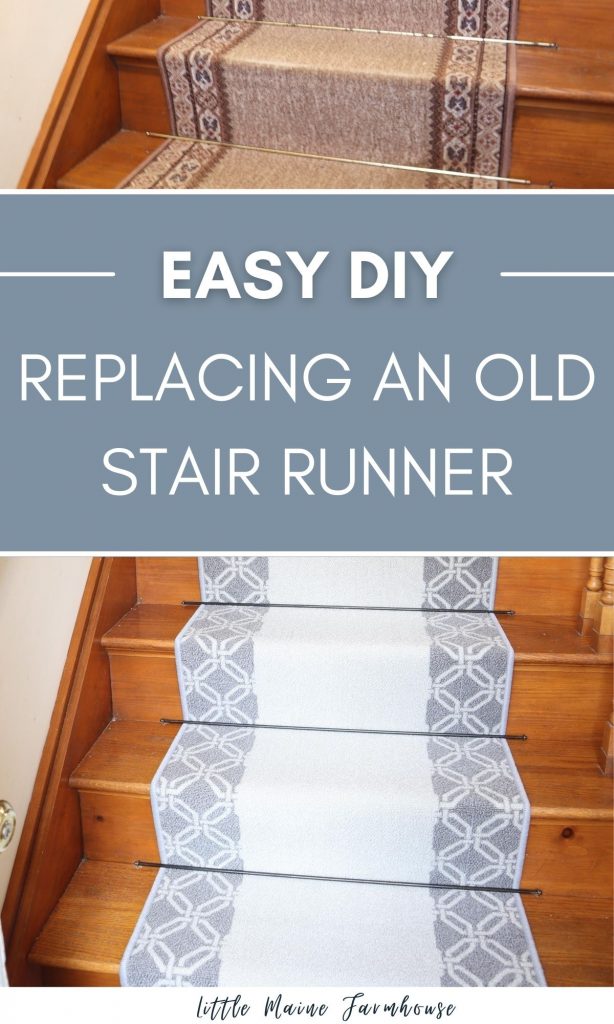
Replacing our front stairway carpet has been on my “must-do” list for ages, and I finally checked it off the list last weekend. My heavens, I cannot believe the transformation that one simple change made, in the entire stairway area!
The kids are still excited to wake up and come down the stairs in the morning, getting to walk on “our NEW stairway!!”
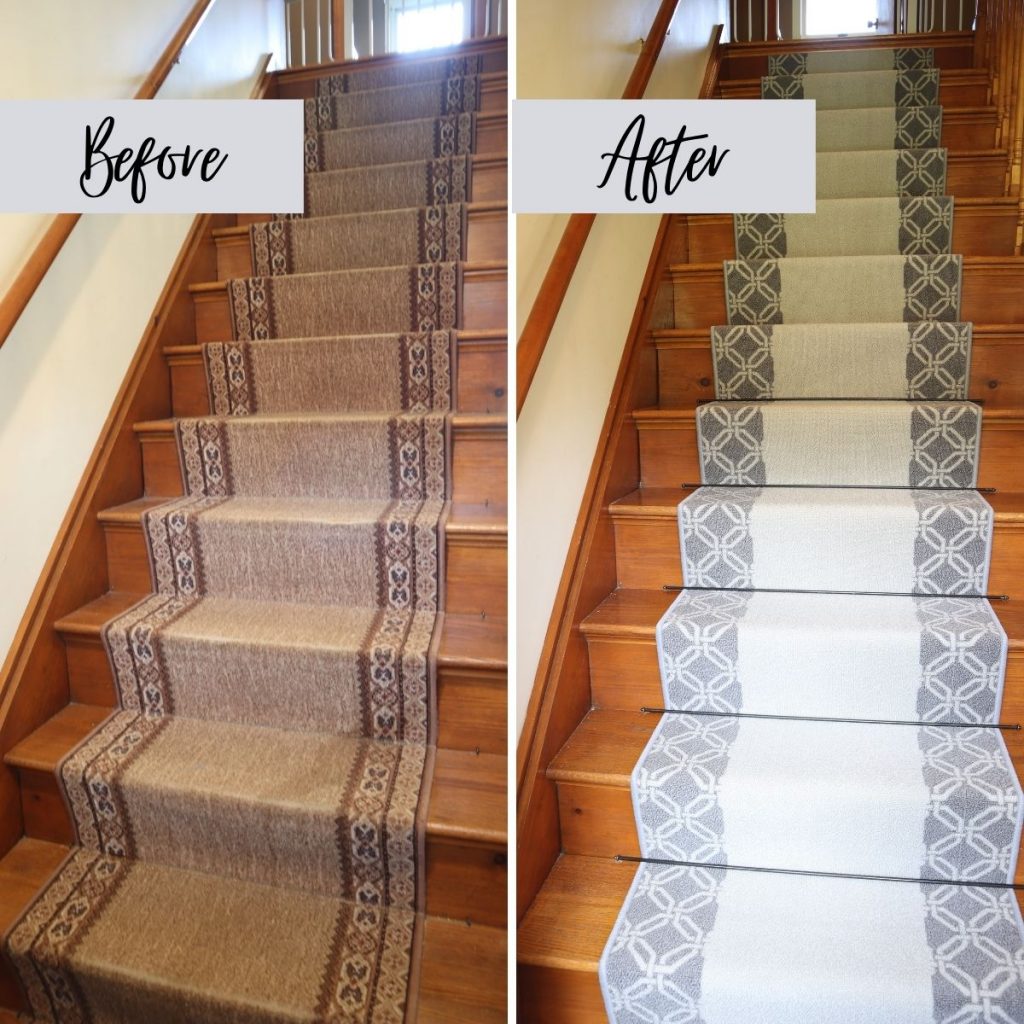
If you have an old stair runner that you’ve been meaning to replace, and have been putting it off, let me encourage you that this project is easier than it sounds. And it’s so, so worth it! Here’s a picture of our old stair runner, next to the new one, so you can see the difference!
Replacing a runner is easy. To me, choosing the new one was actually the hardest part! I ordered ours from Wayfair, but there are many places that have great runners at reasonable prices. Here are a few tips you might find helpful, as you think about choosing a new runner.
Choosing a new stairway carpet runner
Choose a runner the same width, or wider, than your old one.
Carefully measure the width of your current runner. If you go with a new carpet that’s the same with as your old one, or wider, you probably don’t need to worry about refinishing your stair treads as part of this project.
Because the treads have almost certainly worn differently under your current runner, than on the uncovered sides, you will likely need to refinish your stair treads if you want to install a carpet that’s narrower than your old one.
Carefully figure the running length of your stairs.
Start by measuring the full depth and the height of a single stair. Now add those numbers together, and multiply by the number of stairs you have. To that number, add the height of the top riser that goes to the landing above the stair case (It’s almost certainly the same as the stair height.) So that equation would look like this:
stair height + stair depth X number of stairs + stair height = length of carpet
Here’s another way to figure the length, and this tutorial also has helpful diagrams.
Order the new runner 2′ longer than you really need.
You’re going to be flipping over the top and bottom of your runner, so that the ends are hidden. That’s going to take a little extra length, on top of the actually running length of stairs that you intend to cover. You may also want a little leeway to adjust how the runner sits on the stairs – getting the pattern to fall the way you want it might use up a little extra length.
Gather the supplies you’ll need for replacing your carpet runner
Replacing an old runner is generally very straightforward, and you really don’t need any special tools. You probably have most of what you need already!
Depending on how your old carpet was installed, you’ll probably need the following tools to remove your old runner, and securely install your new one.
- Staple gun, and staples
- Flat head screwdriver
- Pliers
- Strong scissors, shears, or a sharp “box-cutter” style blade
- Tape Measure (a ruler can also come in handy!)
- Hammer
- Carpet tacks (if you opt for these instead of staples)
Now, put on a dust mask.
Seriously. If your old stair runner is as ancient and falling apart as mine was, there will be a thick, thick layer of very fine “decomposed carpet dust” under that thing.
Almost certainly, your carpet (like mine) was made with highly toxic flame retardants, and you do not want to breathe that stuff in.
Carefully remove the old carpet.
If your carpet is held in with carpet rods, remove those first.
Unless you’re not keeping them, or your new carpet is a different width than your old one, you probably don’t need to remove the side hoops that hold the rods in place. Just remove the rods themselves. Stair rods generally pop right out if you give them a little push from one end, and then a gentle tug from the middle.
Now, remove the old carpet, rolling it as you go.
Your carpet runner is probably held in place with staples (or less likely, with small tacks). Starting at the bottom, find the places where your carpet is secured, and use a flat head screwdriver, heavy-duty staple remover, or pliers, to remove the staples or tacks.
Continue removing tacks, and rolling up the old carpet as you go. It may seem counter intuitive to remove the carpet from bottom to top, but since carpets are generally installed from top to bottom, I personally feel it’s easier to do a careful job of removing the top portion of the carpet, after you’ve removed the rest and can get to the underside – where the carpet was almost certainly secured.
Now, please listen to me on this one. I know it may be tempting to just grab that carpet and rip, but that’s an easy way to damage your stairs, and spread that horrid old carpet dust everywhere. If your husband wants to rip it out and toss it in the yard, all manly-like – talk him out of it. Trust me. Roll that old thing up carefully. It will save you hours of cleanup.
Clean the stairs, and make any necessary repairs.
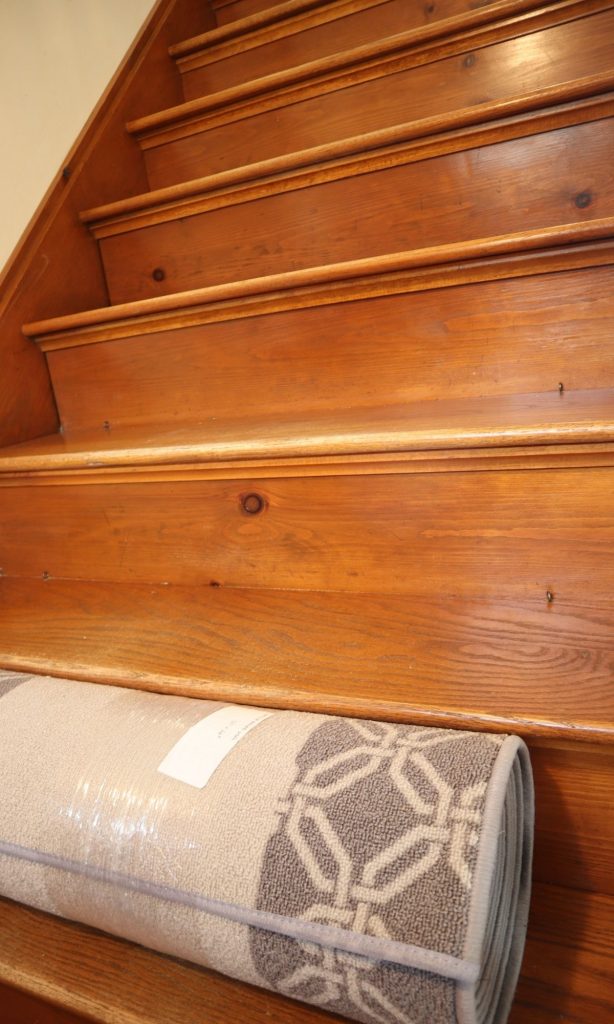
Now that the old carpet is out, you’ll want to give those stairs a thorough cleaning before installing the new one.
Carefully wash the whole stairway, taking time to look and feel as you go. Now is the time to notice if there are any broken bits of staple still hanging on. You might also notice rough areas where wood may have have been damaged when removing staples, that should be sanded and smoothed before installing the new carpet.
If your new carpet is the same width as your old one, or wider, you probably don’t need to actually refinish your stairs, unless that’s part of your stairway makeover project. If it is, now’s the time to go ahead and do that!
It’s also a good chance to repaint your stair rods, if you don’t love the color or finish. Mine were a tarnished golden bronze color, and looked for all the world like dollar-store curtain rods. With a $6.39 can of Rustoleum hammered metal paint, I easily made them look like expensive metal stair rods – the kind that cost a fortune at Restoration Hardware, or Pottery Barn. (You can get all my tips on how to paint stair rods here.)
Secure the top end of the new carpet
Now, it’s finally time to get that new carpet put in! Set the whole thing on the top landing, with the end of the carpet hanging down, wrong-side-up. You’re going to secure the carpet from underneath, so that the staples don’t show at all.
Make sure your carpet is perfectly centered. You’ll want to keep your ruler or tape measure handy, and double-check your centering on every step.
Your carpet is going to overlap itself a bit, so that the staples securing the top are covered. You can choose to either just overlap by a couple of inches, which may create a bit of a bump partway down the face of that top riser, or you can bring it right down to the corner where that vertical riser meets the first stair. This is what I opted to do, since my carpet has some loft to it, and would make a noticeable bump if the overlap ended partway up the riser.
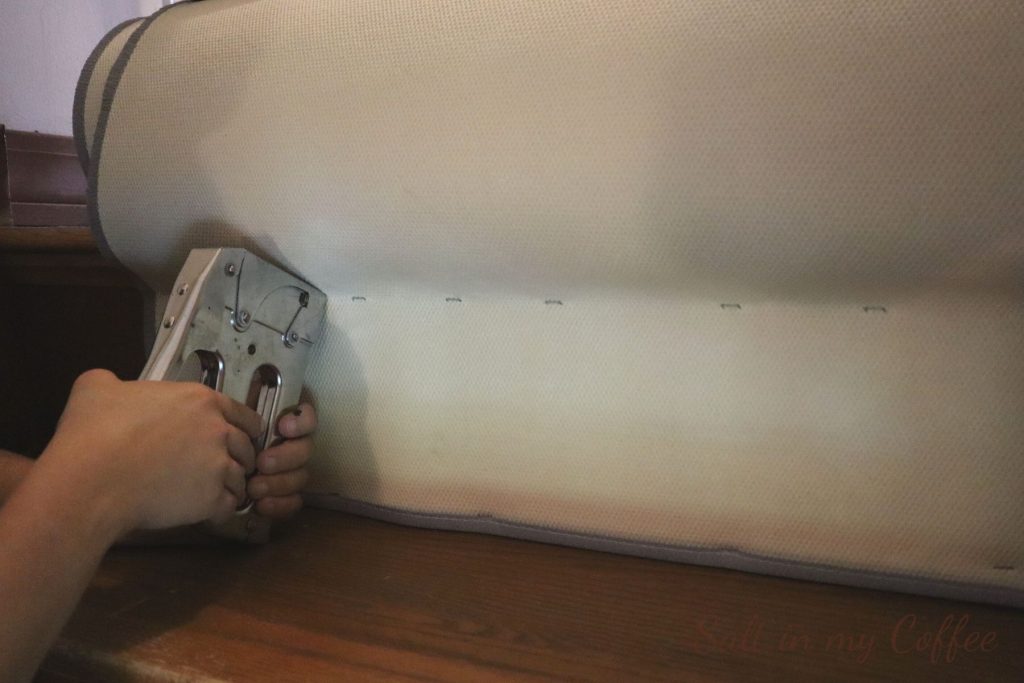
Once your carpet is in place, go ahead and staple firmly where you want the top of your carpet to be secured. If you have molding under the edge of your landing, you’ll probably want to staple immediately under that molding. If you don’t have molding, you’ll staple right under the lip of the landing. The staples will go through the back of the carpet, into the top of the riser.
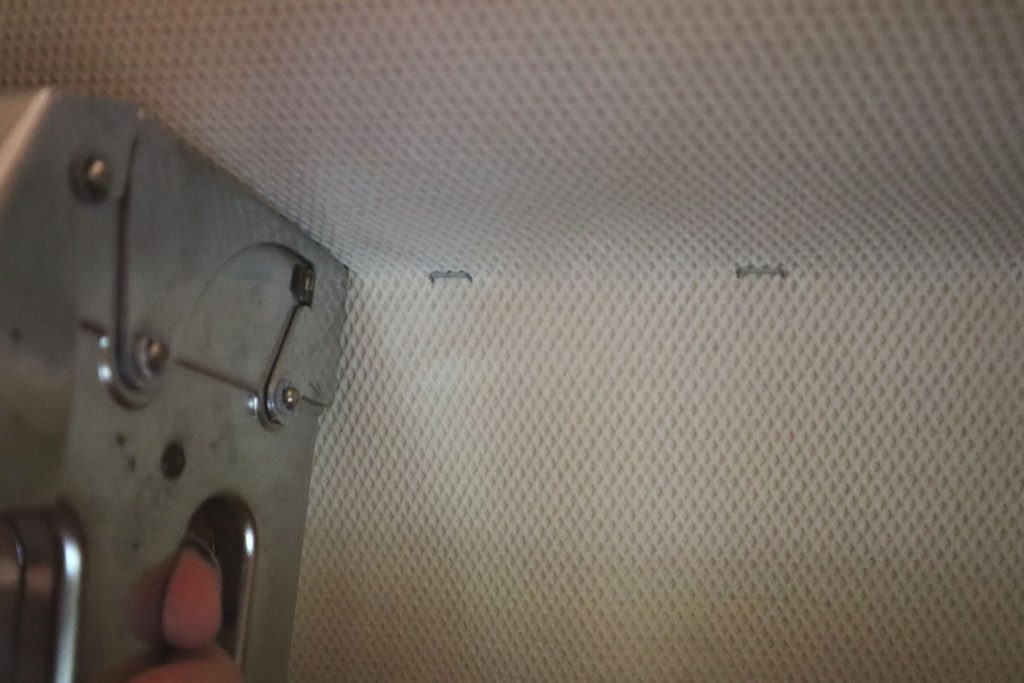
Place staples every couple of inches, along the whole width of the carpet. Once it’s firmly secure, you can bring the roll of carpet down over the stapled end flap, and start to unroll it down the stairway. I found it easiest to keep the carpet roll a few steps below me, with plenty of slack so I could easily work with it.
Now, secure the carpet on each stair.
Waterfall or Hollywood?
You probably already know which look you’re going for with your new runner, but this is the point where it makes a difference in how you install the carpet.
In a waterfall style installation, the carpet will be attached at the back edge of each stair tread, then cascade smoothly down to the next stair. For a more formal or tailored look, the Hollywood style involves securing the carpet under the lip of each stair tread, so that the edge of each tread is clearly defined, and closely hugged by the carpet.
For some great images to help you decide which look you’re going for, check out this site (that Hollywood installation!), and also this one. Both will help you know which look you’re going for.
Securing a carpet runner waterfall style
I opted for a waterfall installation with my staircase. The whole look of my home is more casual, and I also felt the waterfall style better suited the pattern of our new carpet. You can see how the carpet falls directly to the stair below, without being fastened under the lip of the tread.
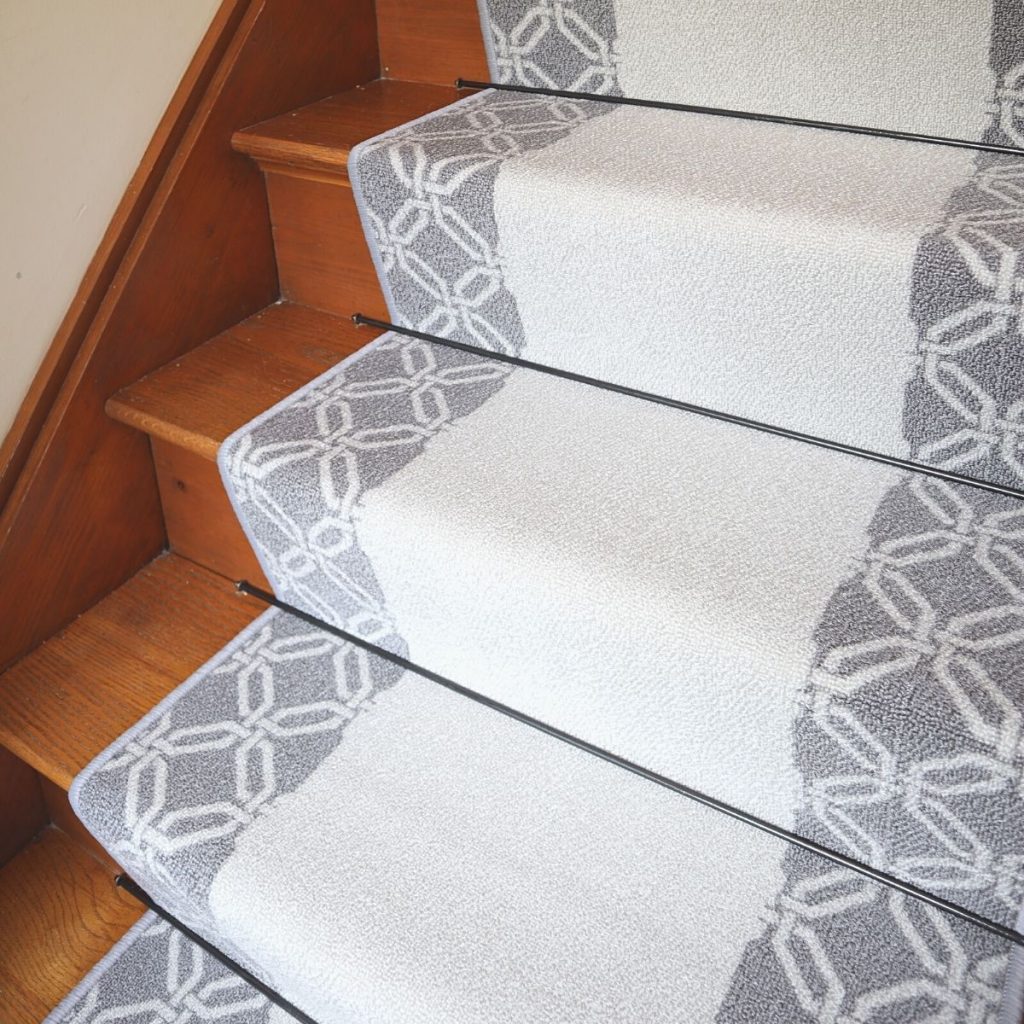
To install the carpet runner this way, work from the top, keeping the runner nice and taut as you go.
If you’re using stair rods, like in the picture, you really don’t need to also fasten the carpet directly to the stairs. Just pop the rods in over the carpet, then give a gentle tug to make sure the carpet doesn’t have any extra slack, before moving down to the next step.
Each time you move down to the next step, don’t forget to measure, double-checking that the runner is still centered before you fasten it down.
If you’re not using stair rods, you’ll use the staple gun to fasten the carpet down, stapling right through the carpet into the stair tread, as closet to the back edge of the tread as you can. You want to try to get the line of staples nicely tucked back, close to where the bottom of the riser meets the back of the stair tread.
Staple across the back edge of the stair, placing staples about 2-3″ apart. Then you’re ready to move down to the next step.
Securing a carpet runner Hollywood style
To install your carpet Hollywood style, you’ll fasten the carpet to the back of the first step, just as described above, using either rods or staples.
Then, after you’ve fastened the carpet to the back of the stair, smoothly pull the carpet over the lip of the stair, and down over the face of the riser below. Just like when you fastened the top of the carpet under the lip of the landing at the top of the stairs, using a row of staples, you’ll now do exactly the same thing immediately under the lip of the stair – this time stapling through the front of the carpet, of course.
You’ll want to make sure that staples are going all the way in, so there’s no chance they’ll be visible through the loft of the carpet. If any of the staples go most, but not all, of the way in, a small hammer can help you punch them in the rest of the way.
After stapling under the lip, you’re ready to move on to the next stair.
Securing the bottom of the runner.
When you get to the bottom of the runner, you’ll want 3-5 extra inches of carpet, so that you can tuck the end under, for a smooth finish. If you have lots of carpet left, now is the time to go ahead and trim the end of it.
Mark a straight line across the carpet, 3-5 inches below where you’ll be fastening it, at the bottom of the stairs. Cut the carpet with a strong, sharp pair of scissors, shears, or a utility knife.
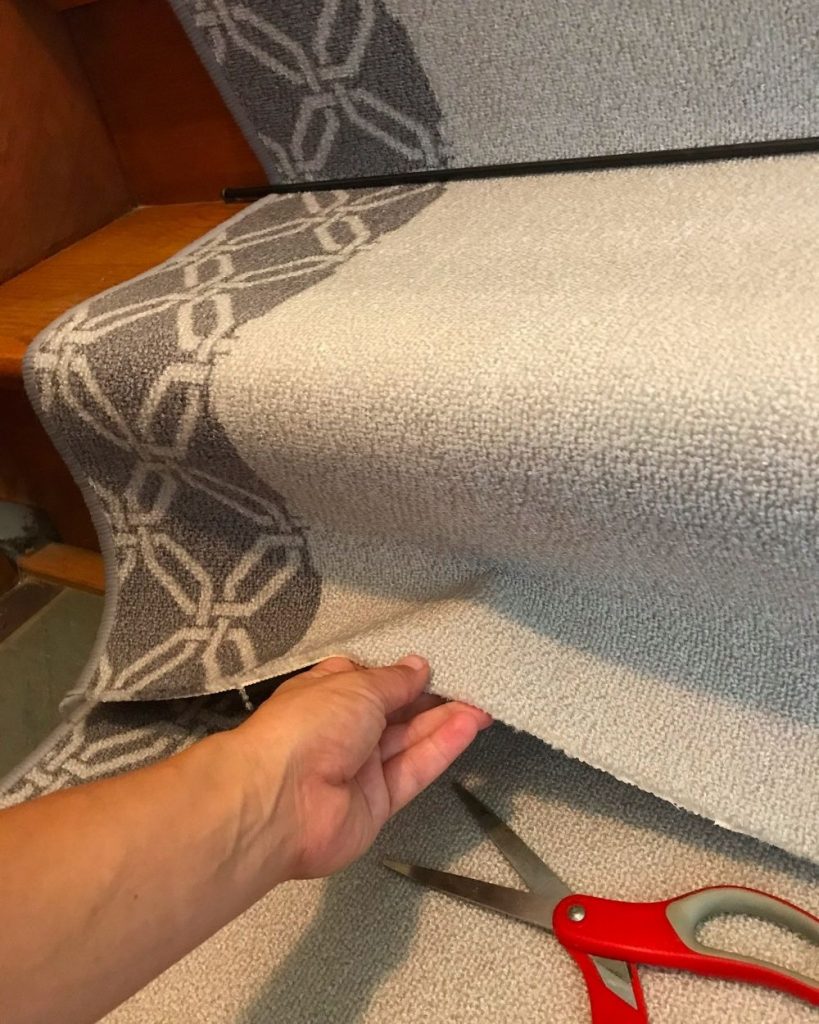
This last step really can be easier if you have two sets of hands, so grab a helper if you have one handy!
Keeping the carpet taut, tuck the end of the carpet up under, behind the runner. Making sure that the bottom of the runner is both centered to the stair, and that the fold line is straight with the bottom of the last riser, go ahead and staple it down, working from the center, toward the sides.
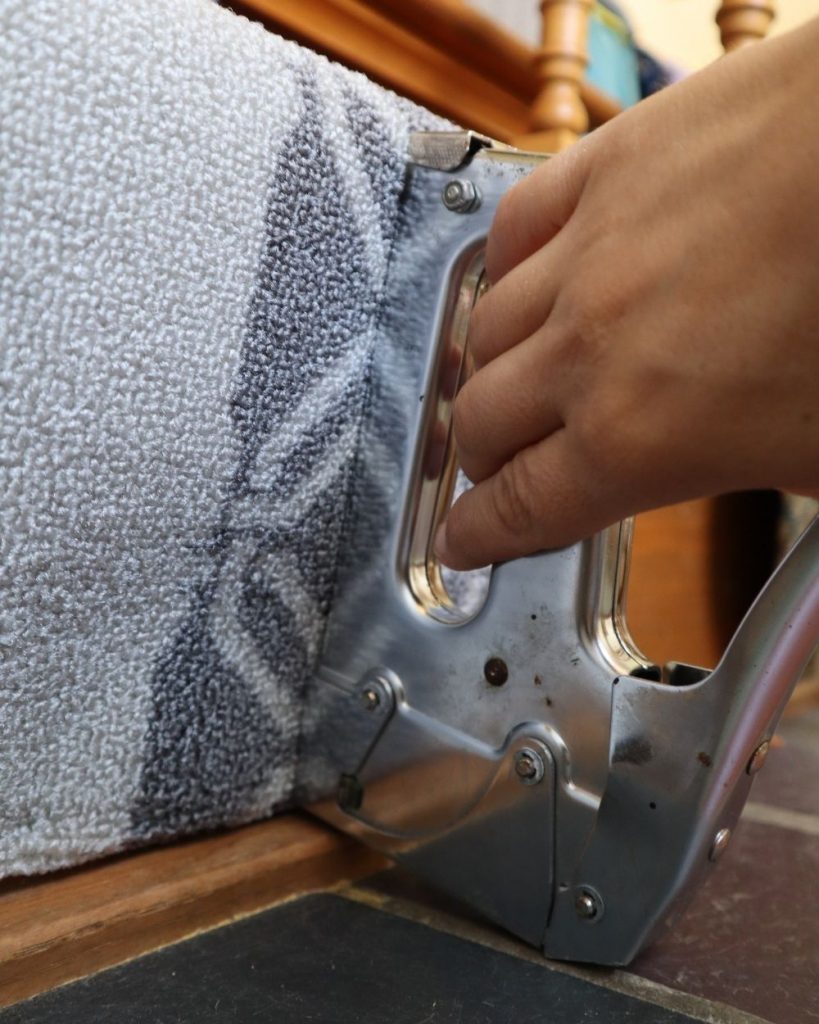
If your carpet has a high loft, you may find that staples have a hard time securing both layers of carpet firmly down. It worked well for me, and I can’t see the staple line at all, but another option would be to use small upholstery nails for fastening down that double thickness of carpet at the end. I actually tried both, and found that I liked using the staples best, but both ways work, and you may find you prefer one or the other based on your particular carpet.
This whole process took just a few hours, and honestly most of that time was spent going for a walk while waiting for the newly-painted stair rods to dry! Replacing a stair runner really is a quick and easy DIY project. I think the hardest part of the entire thing was actually choosing the new runner!
Have any questions about tackling a DIY carpet runner replacement? Ask away in the comments below!
